Whipped Shea Butter is always light, creamy and fluffy, making it easily absorbed into your skin. This is one of the most versatile products available as it can be used as a hair conditioner, makeup remover, all-over moisturiser, softens cuticles, and always soothes dry or chapped skin. And it super easy to make with some basic ingredients!
We have used a beautiful blend of lemon, lime and basil essential oils, but you can customise with almost any fragrant oil or essential oil blend.
| Ingredient | % (g/100g) | per 250g |
| Shea Butter* | 80.9 |
202.25 |
| Isopropyl Mystirate | 12.5 | 31.25 |
| Apricot Kernal Oil |
5 |
72.5 |
| Vitamin E (dl-alpha-tocopherol) | 0.1 | 25 |
| Lemon Essential oil | 0.5 | 25 |
| Lime Essential oil | 0.5 | 0.25 |
| Basil Essential Oil | 0.5 | 1.75 |
*you can use unrefined shea butter in this formulation, however it will smell "different" and may overpower your essential oils.
Equipment:
- Sterilized bowl
- Electric beaters
- Small dish
- Mixing utensils
- Measuring tools
- Airtight container for storage
Instructions:
-
Prepare Your Workspace: Before you begin, make sure your workspace is clean and all equipment is properly sterilised. Sterilisation is essential to prevent contamination and ensure the quality of your whipped shea butter.
-
Weigh and Whip Shea Butter: Start by weighing the desired amount of shea butter into a sterilised bowl. Using a set of electric beaters, whip the shea butter until it becomes uniform, light, and fluffy. This process may take a few minutes, so be patient. The shea butter should have a creamy and airy texture when it's ready.
-
Incorporate Isopropyl Myristate: Once the shea butter is whipped to the desired consistency, add the isopropyl myristate. This ingredient helps to enhance the texture and spreadability of the whipped shea butter. Beat the mixture again until the isopropyl myristate is thoroughly combined, and the mixture becomes even lighter and fluffier.
-
Add Apricot Kernel Oil: Now, it's time to introduce the apricot kernel oil. Pour the oil into the whipped mixture and use the electric beaters to whip it again. Continue until the mixture is uniform, light, and fluffy. The apricot kernel oil adds moisturizing properties to your shea butter blend.
-
Prepare Vitamin E and Essential Oils: In a small dish, measure out the desired amount of vitamin E oil and essential oils. These oils provide additional nourishment and fragrance to your whipped shea butter. To incorporate them evenly, you'll create a small mixture first.
-
Combine Oils: Take a scoop of the whipped body butter from your master bowl and place it in the small dish with the vitamin E and essential oils. Stir these oils into the small scoop until they are well combined.
-
Incorporate Back into the Master Bowl: Transfer the mixture from the small dish back into the master bowl with the whipped shea butter. Use the electric beaters once more to whip and combine all the ingredients thoroughly. This step ensures that the vitamin E and essential oils are evenly distributed throughout the entire batch.
-
Final Whipping: Whip the entire mixture for an additional minute or two to ensure everything is fully blended and the whipped shea butter has a uniform texture.
-
Transfer to Storage Container: Once your whipped shea butter is perfectly whipped and combined, transfer it into an airtight container for storage. Make sure the container is clean and dry. Seal the container tightly to preserve the freshness of your whipped shea butter.
-
Enjoy: Your homemade whipped shea butter is now ready for use. Apply it to your skin as a nourishing and moisturizing body butter, focusing on dry areas. Enjoy the luxurious and hydrating benefits of your DIY skincare product!
Store your whipped shea butter in a cool, dry place to extend its shelf life.
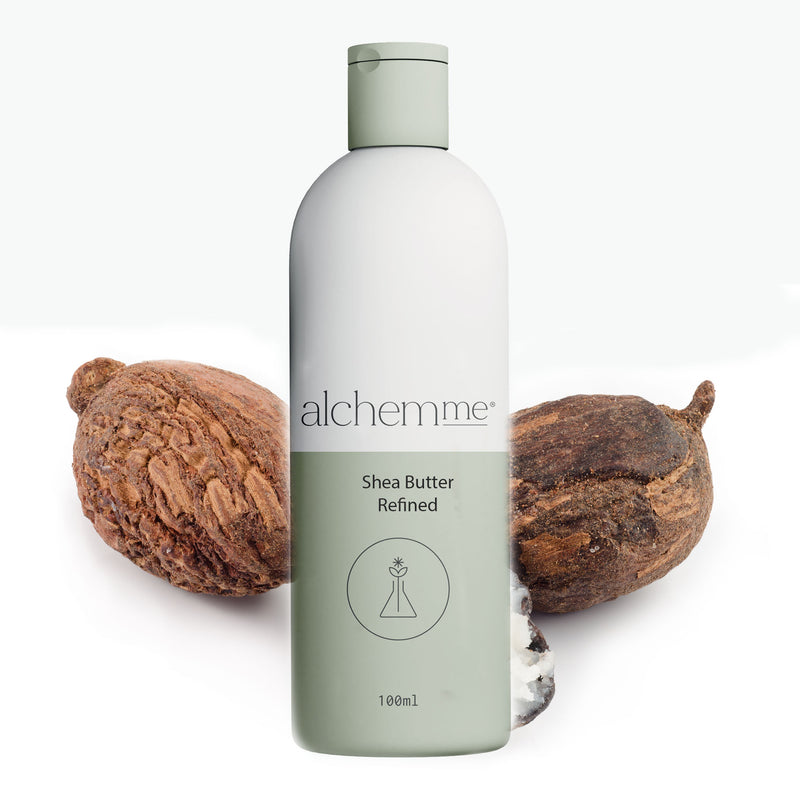
Shea Butter - Refined
$32.00
Isopropyl Mystirate
$8.50
Vitamin E (alpha tocopherol acetate)
$30.00
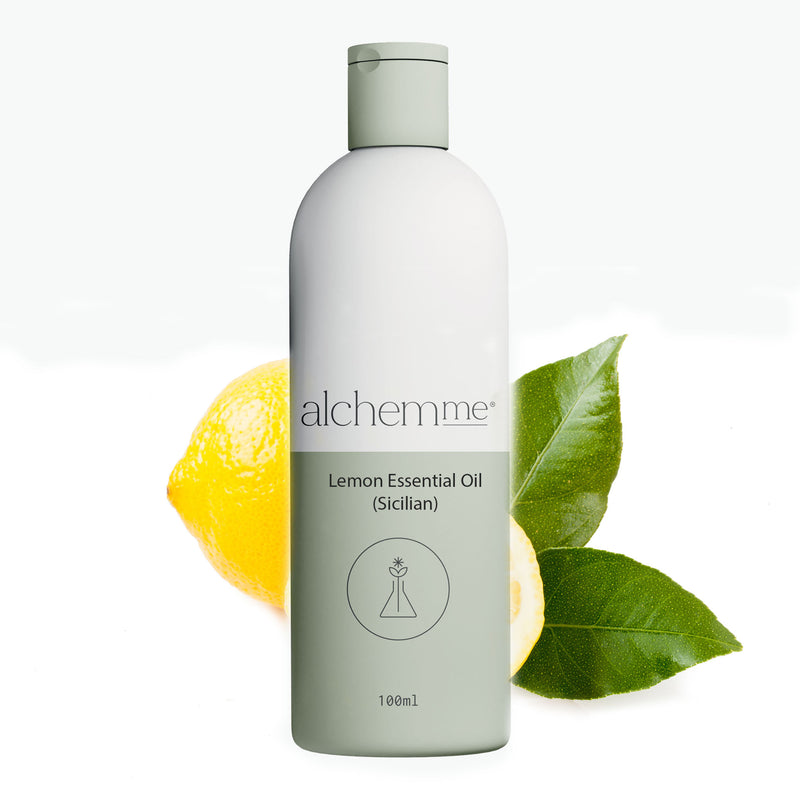
Lemon Silician Essential Oil
$5.50
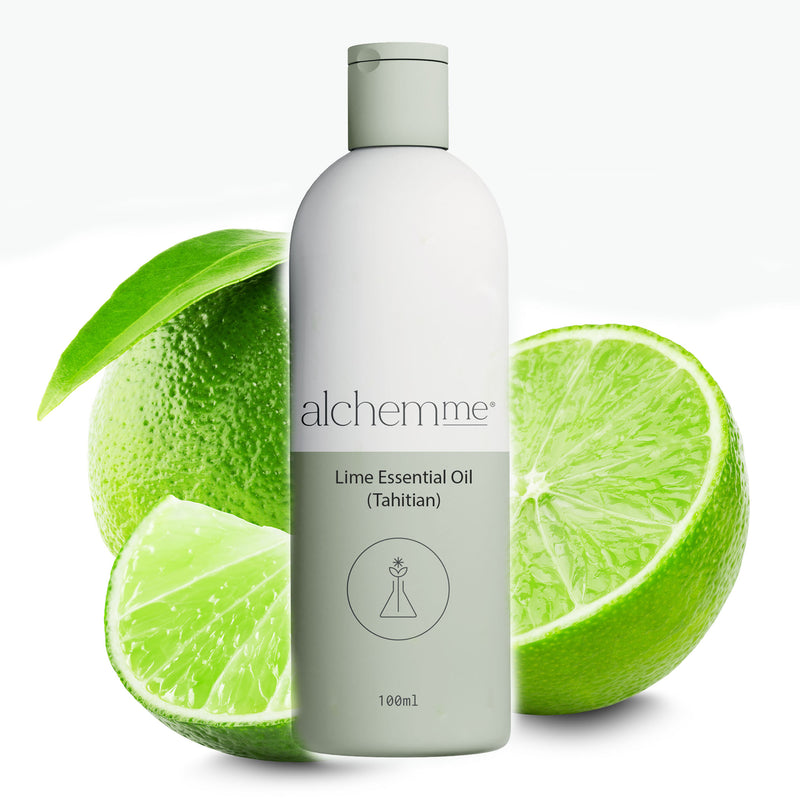
Lime Tahitian Essential Oil
$9.50


Leave a comment